If you love mixed media as much as I do then you may have already used Geli Plates. They are a lot of fun to use and you can create interesting and beautiful backgrounds for all types of projects.
So you might be asking, what exactly is a Gelli Plate?
A Gelli plate is a clear gelatinous slab that you roll acrylic paint onto and use to pull prints from. Gelli plates allow you to produce a textured print on fabric or paper with the use of stencils and stamps. You can use any brand of acrylic paint, however from trial and error I do believe you get better results from the more expensive paints out there compare to paint you may buy at the $2.00 shop.
If you are first starting out then any brand will actually do. You will also get varying results depending on the the thickness of the paints
How to Use a Gel Press
All you need are some paints, stencils and stamps and of course paper. If you are practicing, just use plain A4 white copy paper until you get the hang of it.
Using Gel Press with Stencils
1. Lay your gelli plate in front of you and cover it with paint. As mentioned above, acrylic works best. You may need to work rather quickly as the paint can dry out fast
2. Place your stencil down on the wet paint and lay the material that your are printing ontop of the stencil. (Bit like a sandwich)
3 . Grab your brayer or you can use your hands to press down or even an old credit card.. Give it a really good press down backwards and forwards and then lift the material off and you have a printed piece.
4. Keep repeating the process with the different stencils on that same materiel to create fun and interesting layers. Ever one you make will be unique. You may need a spare piece of paper to wipe excess paint off your brayer.
Using Geli Plate with Stamps
1. Coat your Gelli Plate with a thin layer of paint.
2. Press your stamps into the paint. You can wipe of the excess paint or grab some spare paper and stamp onto that. You are basically removing the paint from the Gelli Plate.
4. Lift the material off the plate and you have another printed piece. Keep layering. You can combine both stenciling and stamping too.
Homemade Geli Plate.
Let’s begin by talking about a homemade version of the Gelli plate. If you were at our July 2020 retreat you may remember we did some experiments making our own Gelli Plates, which are fairly easy to do.
What you need: To make a 8 x 10 plate:
6 tablespoons gelatin powder
1 ½ cups cold water
1 ½ cups hot, almost boiling water
Mixed gelatin powder in cold water in a brownie pan approx 9 x 12 inches until blended, Gradually add the hot water keep stirring until its completely dissolved. Remove any bubbles by tapping the sides. Set in the fridge for about one hour. Remove and your ready to go.
Pre-made Gel Press:
You can also buy Gell Plates in a number of different sizes such as: 5 x 7, 6 x 6, 8 x 10 and 12 x 14.
Cleaning Your Geli Plate:
Storing Your Geli Plate:
There are plenty of ideas around in relation to storage. It really depend on a number of things such as your crafting style, craft space, storage available and how often you use your Gel plate.
I must admit I don't use my Gelli Plate as much as I would like to. So my storage is on one of my shelves in my studio. I do keep all my Gelli Plate products together such as the plate, brayer, a colour wheel, my Carabelle Stamps and Stencils.
Storing your Geli Plate:
Rule Number #1 - Store them flat (either horizontally or vertically (not under a stack of papers and not half hanging over your shelf).🤭 Storing them correctly means they will hold their shape.
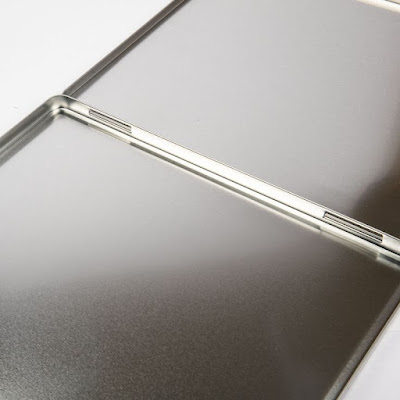
My larger Gelli Plate is stored in a tin and my smaller plates in a flat container. They both fit nicely on the shelf
Rule Number #2 - Do not store using anything that’s absorbent as this will cause the mineral oil to deteriorate and leach out. I like using plastic transparencies (make sure they have no coating.
Rule Number #3 - Don’t store them near a window which gets the hot sun glaring through.
Storage Containers - you can store the plates in the containers they came in, however I prefer to store mine in between sheets of transparency paper. Make sure there are no air bubbles, so press firmly.
Do not wrap plastic wrap or wax paper around your plate as this will cause the wrinkled texture to be imprinted onto your plate. Make sure there is no dirt, hair, fluff as this can lead indentations on the plate.
You can also purchase Gelli Storage Tins. Like the one below.
✨✨✨✨✨✨✨✨✨✨✨
We want to see what you have created with your Geli Plates. Post some artwork on our Facebook Page We can't wait to see!
Have a question? Ask us in the comments below.
.


Great Blog post Megan . Gel plates are a lot of fun , with endless creative ideas 😍
ReplyDeleteThanks Maz...Ive certainly had unlimited fun with these so far...where had they been hiding??? LOL
Delete