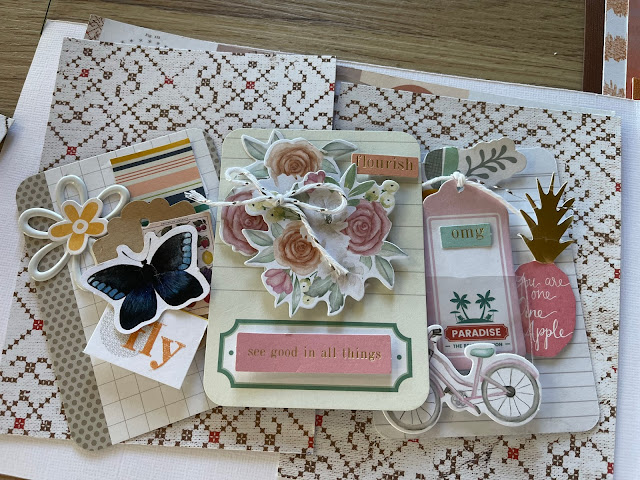
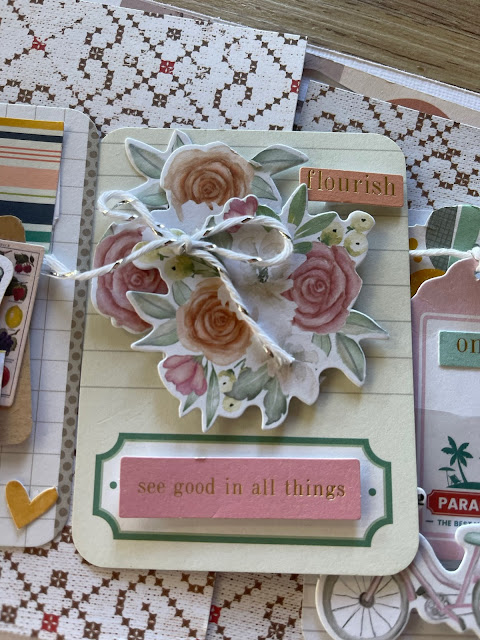
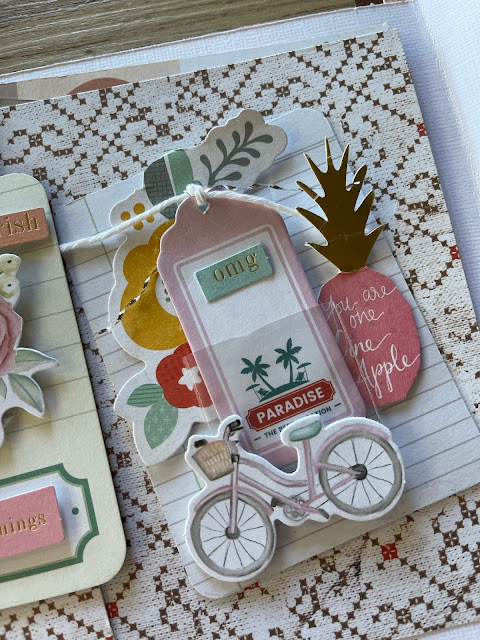
Repurposing 3 x 4 Project Life cards into mini embellishments is a fantastic way to add unique touches to various crafting projects. Whether you're making scrapbook pages, greeting cards, or other creative endeavors, these mini embellishments can add charm and character. Here's a step-by-step guide to help you get started:
Materials you'll need:
3 x 4 Project Life cards (unused or previously used ones)
Scissors or a paper trimmer
Adhesive (glue, double-sided tape, or adhesive foam dots)
Craft punches (optional, but useful for creating specific shapes)
Stamps and ink pads (optional, for adding decorative patterns)
Embellishments like stickers, ribbons, rhinestones, or any other decorative elements (optional)
Markers or pens for hand-lettering or doodling (optional)
Ribbon or twine (optional).
Step 1: Gather your materials:
Collect all the necessary materials, including the 3 x 4 Project Life cards and any additional decorative elements you want to incorporate.
Step 2: Plan your mini embellishments:
Consider the type of crafting project you're working on and the theme you want to achieve. Sketch or imagine the designs for your mini embellishments to give you an idea of how to cut and decorate the cards.
Step 3: Ink Your Cards:
You can ink the edges of your cards, however, this is optional.
Step 4: Add Decorative Elements:
This is where your creativity can shine. Add decorative patterns, designs, or hand-lettered messages to the mini embellishments using stamps, ink pads, markers, or pens. You can also layer stickers, die cuts ribbons, rhinestones, or any other elements to enhance their appearance. Create a layered look by adding some of embellishments in a cluster type of arrangement.
Step 5: Add dimension:
For a more dimensional look, use adhesive foam dots to adhere some of the embellishments onto your crafting project. This will create a slightly raised effect and add depth to your designs. Ensure that they are securely adhered to the cards, and leave room for any additional elements you may want to add later.
Step 6: Punch holes for hanging:
If you want to turn your mini embellishments into hanging decorations, you can punch a hole at the top using a hole punch. This will allow you to thread a ribbon or twine through the hole and hang the embellishments wherever you like.
Step 7: Store and organise:
After creating your mini embellishments, store them in small containers or resealable bags to keep them organised and prevent them from getting lost or damaged.
Step 8: Use them in your crafting projects:
Now that you have a collection of mini embellishments, you can use them in various crafting projects. They're perfect for adding accents to scrapbook pages, cardmaking, journaling, and many other creative endeavors.
Repurposing 3 x 4 Project Life cards into mini embellishments is a fun and eco-friendly way to use up your supplies creatively. Remember to let your creativity guide you throughout the process. Feel free to experiment with different techniques such as a little stamping or stenciling with mixed media products.
Related Hashtags #repurposing #repurposingproject #projectlife #projectlife3x4cards #embellishments #diyproject #upcycling #crafting #creativelife #handmade #repurposeideas #reuse #recycle #craftsupplies #craftingideas #diyinspiration #repurposedesign #repurposedecor #repurposedmaterials #repurposedart


No comments