10 Ways to Use Brads in Your Craft Projects.
10 Unique Way to Use Brads in Your Craft Projects.
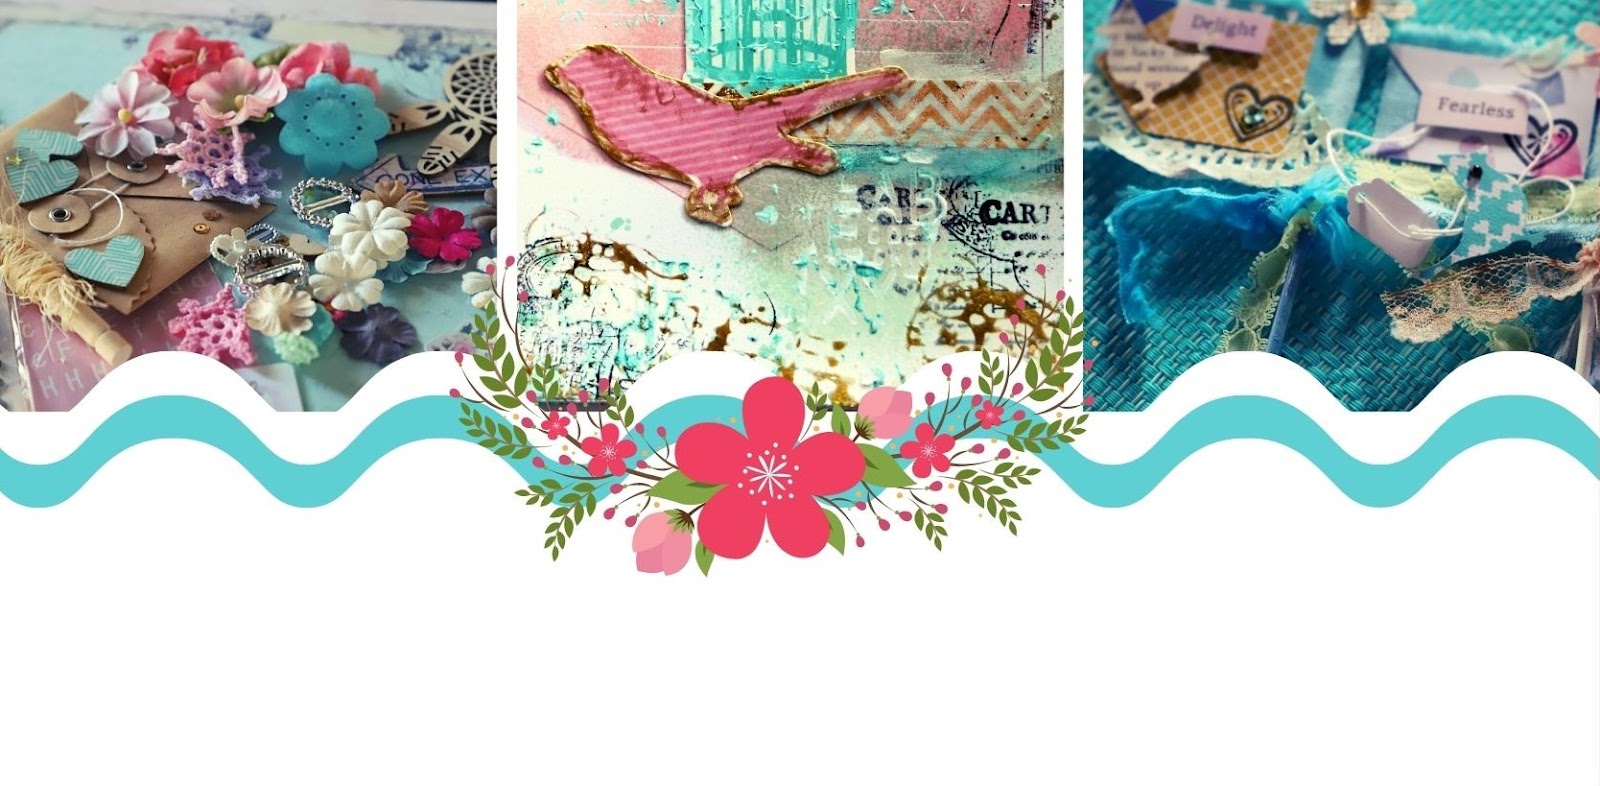
I must admit I have a penchant for brads, there is something about using brads that appeals to my sense of creativity and they come in all shapes and sizes and are great to use on all sorts of different projects. They add color, texture, and charm to layouts and cards.Brads are one of those great embellishments that are functional and decorative. Another reason for their popularity is that they are fairly inexpensive! My favorite brads are animals and flower brads.
So What are Brads?
Brads are two-pronged paper fasteners, usually with a decorative top. They can be used in all types of different projects, from mini albums, to card-making, and scrapbooking. They can be quite decorative and functional.Types of Brads
Metallic Brads - Smooth tops made of a variety of different types of metal
Coloured Brads - Painted metal that can come in solid colors or patterns
Shapes Brads - Such as animals, flowers, starts instead of the circular top
Fabric Covered Brads - Circular topped brads with patterned fabric stretched over them.
Some basic sizes are tiny (usually 5 mm), medium (8 mm), and large (11mm).
It is best to read the product information before choosing brads as different manufacturers categorise brads differently.
Coloured Brads - Painted metal that can come in solid colors or patterns
Shapes Brads - Such as animals, flowers, starts instead of the circular top
Fabric Covered Brads - Circular topped brads with patterned fabric stretched over them.
Sizes of Brads
Brads come in a wide variety of sizes and shapes and sometimes it is difficult to measure accurately.Some basic sizes are tiny (usually 5 mm), medium (8 mm), and large (11mm).
It is best to read the product information before choosing brads as different manufacturers categorise brads differently.
Different ways of using Brads
Brads are a simple, easy-to-use crafting embellishment and can be used in a variety of ways:
Use Brads on Cards:
If you're a card maker, then using decorative brads such as those with pretty gemstones can be used as a focal point on a card. You can also use brads to attach sentiments on the front of the card. If you wish to hide prongs, use cardstock, paper o,r diecuts to cover up.
On Scrapbook Pages
I just love to use Brads on my scrapbook layouts. They add interest and texture. Use to attach journalling, little embellishments, as well as attaching photos. (Then you don't need to use adhesive). You can add small brads to the centre of flowers, or even keep the ribbon in place. Use leftover strips of paper on your layouts and fasten them with brads. The possibilities are endless!
On Mini Books or Journals
If you’re making journals or small mini books. Brads can be used on the outer covers, spines or on the inside pages. You can link brads to jump rings and create a hanging embellishment. Use brads as decoration on the cover or hold ribbons in place.On Altered Art Projects
If you’re making altered art projects, and using metal embellishments, use a few brads and cover them with paint or wax to add ,different dimension to the surface.There are many great ways to use brads in your projects:
* To secure layers of paper together;
* At the top of a tag;
* Connectors on paper piecing for moveable parts;
* Center of flowers;
* Corners of picture mat;
* To form "bullets" for a list of journaling;
* Attach elements on a page by wrapping wire or fiber;
* In the corners of a photo mat or journal block;
* Add Stickers or Washi Tape to them;
Tips for using Brads
Did you know brads can add moving elements to your papercrafts when two pieces are fastened together? They are pushed through paper, and then the two prongs are spread apart, holding the brad in place.Most brads are shiny. If you like adding a rustic touch you can sand the top of your brads with sandpaper! This will scratch the brad up and if the color is painted on it will allow the metal to shine through giving it that great shabby chic look!
If you find yourself in a pinch without the perfect color of brad for your layout, do not fear! I have painted the tops of brads using regular acrylic paint. You can also use your markers to add colour to plain white silver or gold brads.
Another trick for brads is heat embossing the tops. Dip the top of the brad into ink and then into embossing powder. Heat with a heating gun and you will have a shiny embossed brad. This is also a great tip for getting the perfect color to go with any layout!
Have some big ugly type brads, dress them up with some old Rub-Ons to spruce them up a bit. Or you could put small stickers or gems onto them to give a different effect.
Don't try and stick the brad directly through as this can damage your project. Using a pokey hole tool! (You know what I mean!).
Any other Ideas?
So there you have it! I hope you'll dig out your box of brads and start incorporating them into some of your projects.
Til next time
Julie


No comments